Octopia for Zendesk
Create an API Account on Octopia
If you do not yet have an API account on Octopia, you need to fill out the following form on the Octopia website: https://developer.octopia-io.net/onboarding
Once the form is validated by Octopia, you will receive your client_id and client_secret. Make sure to save these details in a safe place, along with the company name you provided in the form.
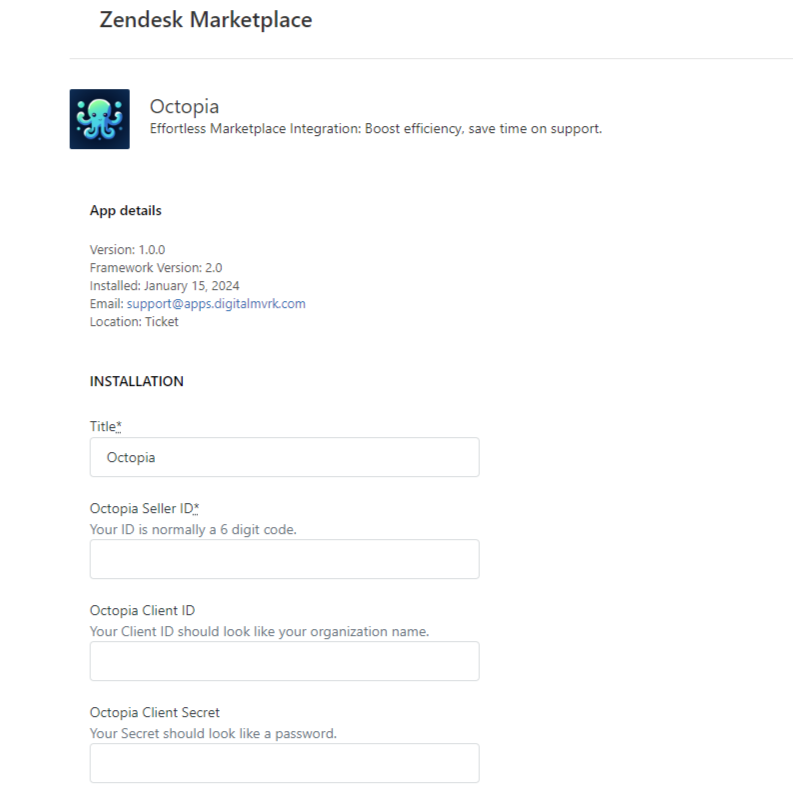
Install the Octopia Application
After installing the Octopia application on your Zendesk instance, you will need to enter the parameters you obtained when creating an API account, namely:
- Your Seller ID
- Your Client ID.
- Your Client Secret.
Activate Message Synchronization
To receive messages from your marketplaces on your Zendesk instance and be able to respond to them, you need to set up a channel.
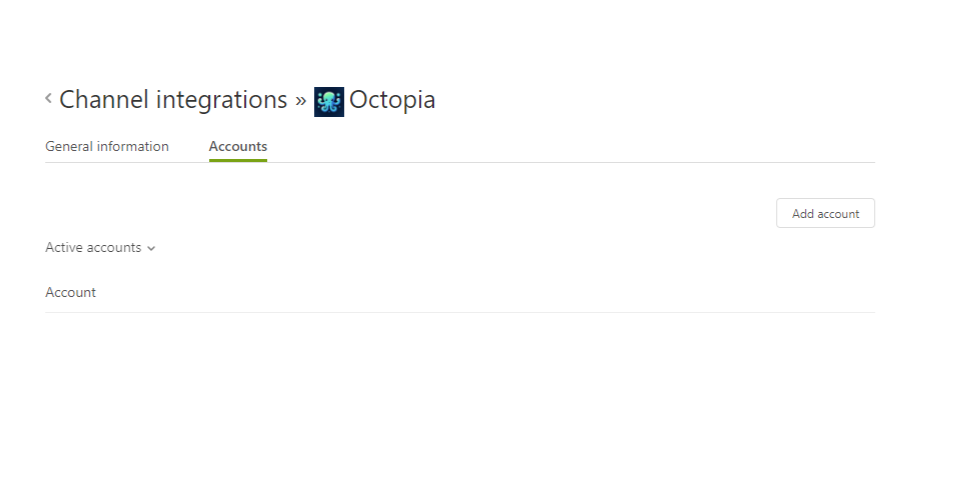
To do this, go to the Zendesk Admin Center, in the Apps and integrations menu then Channel Integration in the Apps section. You should see an "Octopia" line; if not, it means you have not completed the installation of the application. Select the gear on the line then click on Edit:

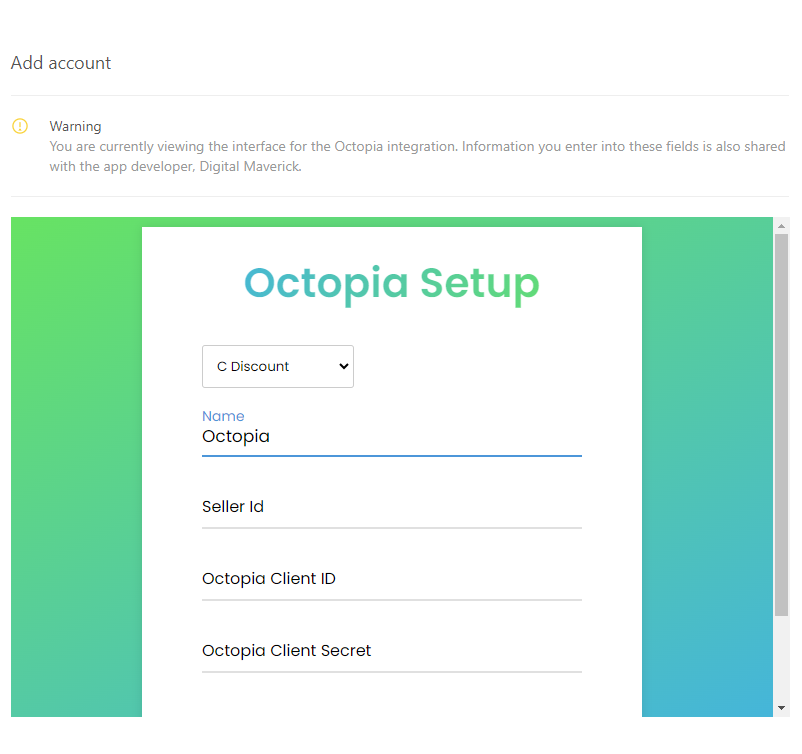
Go to the "Accounts" tab, then click on "Add account":
Next, select the marketplace you want to connect, give it a name, and enter the values you obtained when creating your API account on Octopia:
- Your Seller ID
- Your Client ID.
- Your Client Secret.
Congratulations!
Well done, you have completed the configuration of the Octopia application! If you have multiple marketplaces on Octopia, simply repeat the "Activate Message Synchronization" step.